Cycle GIF Documentation
Goal: Use a TFT Display to display and cycle through 3 different GIFS with a button
Libraries Used:
Arduino.h
SPI.h
FS.h
TFT_eSPI.h
AnimatedGIF.h
I am using Vscode with PIO home to control the Arduino
How to get the code to run:
Install all of the libraries above into a workspace, and set up the normal display GIF function
1. Install TFT_eSPI library into VSCODE
Under libdeps > TFT_eSPI > User_Setup.h change your settings to match the display you have
1. Define which driver you are using:
2. Define TFT Width + Height
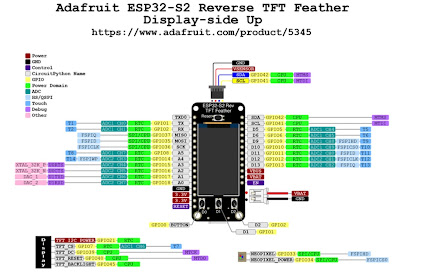
3. Define Required Pins
a. MISO - MISO
b. MOSI - MOSI
c. SCLK - SCK
Copy files Github files into src:
1. GIFDraw.ino
2. TFT_eSPI_memory.ino
b. Change Width and Height to your tft screen size (In GIF Draw)
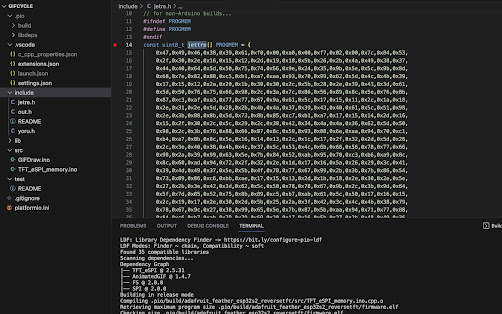
c. Download the included files from GitHub and put them in the include folder in vscode
1. jetre.h
2. out.h
3. yoru.h
1. If your device doesn’t have a backlight, disable the backlight in TFT_eSPI_memory.ino
If It does, change the value to the corresponding pin
2. Define button the pin that corresponds
3. If the program does not build, you can use ChatGPT to help diagnose and
troubleshoot the problem
4. If you still can’t get it to work, email me (adamkhaq@gmail.com)
How to alter/change the GIF files:
a. Crop your GIF to your pixel size
b. Optimize your GIF
1. Select Color Reduction + dither and reduce colors to 15-30 to take up less space
c. Cut duration of GIF (by frame number)
1. Make sure that you don’t have to many frames (Recommend adjusting from 1-10 frames)
d. Download GIF
Links: Image to C Converter https://github.com/bitbank2/image_to_c
Steps for Mac:
- Download X Code and its command line tools
- Copy filename location of the image_to_c folder
- Open Terminal and paste "cd (pathlocation):
- Run make
- Put your GIF file into the image_to_c folder
- In the terminal run ./image_to_c filename.gif > file.h
- Your file should appear in a C format (Drag the file into your vscode folder under include)
For Windows:
1. Follow these steps (Timestamp 3:18 - 4:28)
2. Include the file into your project folder
3. Change the file names in Vscode so the compiler recognizes ita. #include”” - File name
b. #define GIF_IMAGE# - variable name


Comments
Post a Comment